Jekyll
Introduction
This section will help you integrate Decap CMS with a new or existing Jekyll project.
Jekyll is a blog-aware static site generator built with Ruby. GitHub Pages are powered by Jekyll, making it a popular choice for developer blogs and project pages.
If you’re starting a new project, the fastest route to publishing on a Jekyll website with Decap CMS is to deploy a template on Netlify.
Setup
This guide will use the blog you get if you follow the really excellent official Jekyll step by step tutorial as a starting point. If you’re new to Jekyll - I recommended you start by following the tutorial so you know your way around your new blog. Otherwise you can clone this repo and checkout the without-cms branch.
Add Decap CMS
Add admin/index.html
Create a file admin/index.html in the root of your repo - it should look like this:
<!-- admin/index.html -->
<!DOCTYPE html>
<html>
  <head>
    <meta charset="utf-8" />
    <meta name="viewport" content="width=device-width, initial-scale=1.0" />
    <title>Content Manager</title>
    <!-- Include the identity widget -->
    <script src="https://identity.netlify.com/v1/netlify-identity-widget.js" type="text/javascript"></script>
  </head>
  <body>
    <!-- Include the script that builds the page and powers Decap CMS -->
    <script src="https://unpkg.com/decap-cms@^3.0.0/dist/decap-cms.js"></script>
  </body>
</html>
Add admin/config.yml
Create a file admin/config.yml in the root of your repo - it should look like this:
# config.yml

backend:
  name: git-gateway
  branch: main # Branch to update (optional; defaults to master)
media_folder: 'assets/uploads'
collections:
  - name: 'blog'
    label: 'Blog'
    folder: '_posts/'
    fields:
      - { name: Title }
Enable authentication for CMS users
Decap CMS stores content in your online Git repository. Therefore, to make content changes, users need to authenticate with the corresponding Git provider to prove that they have read and write access to that content.
Follow the directions in the Introduction section to enable Netlify Identity and Git Gateway services for the backend, then add the Identity widget to render a login portal on the frontend.
CMS Configuration
Blog Collection
We’ll start by updating the blog collection. Blogging is baked into Jekyll, and the _posts/ directory uses some special conventions we’ll need to keep in mind as we configure Decap CMS. Copy and paste the following into your config.yml.
collections:
  - name: 'blog'
    label: 'Blog'
    folder: '_posts/'
    create: true
    slug: '{{year}}-{{month}}-{{day}}-{{slug}}'
    editor:
      preview: false
    fields:
      - { label: 'Layout', name: 'layout', widget: 'hidden', default: 'post' }
      - { label: 'Title', name: 'title', widget: 'string' }
      - { label: 'Publish Date', name: 'date', widget: 'datetime' }
      - { label: 'Body', name: 'body', widget: 'markdown' }
A few things to note.
We set the
slugto'{{year}}-{{month}}-{{day}}-{{slug}}'because Jekyll requires this format for blog posts.year,month, anddaywill be extracted from thedatefield, andslugwill be generated from thetitlefield.We added
editorconfiguration with a fieldpreview: false. This will eliminate the preview pane. Because Jekyll uses Liquid templates, there currently isn’t a good way to provide a preview of pages as you update the content.The
layoutfield default is set topostso Jekyll knows to use_layouts/post.htmlwhen it renders a post. This field is hidden because we want all posts to use the same layout.The
dateandtitlefield will be used by theslug- as noted above, Jekyll relies on the filename to determine a post’s publish date, but Decap CMS does not pull date information from the filename and requires a frontmatterdatefield. Note Changing thedateortitlefields in Decap CMS will not update the filename. This has a few implications:- If you change the
dateortitlefields in Decap CMS, Jekyll won’t notice - You don’t necessarily need to change the
dateandtitlefields for existing posts, but if you don’t the filenames and frontmatter will disagree in a way that might be confusing - If you want to avoid these issues, use a regular Jekyll collection instead of the special
_postsdirectory
- If you change the
Author Collection
In addition to _posts, the Jekyll tutorial blog includes a collection of authors in the _authors directory. Before we can configure Decap CMS to work with the authors collection, we’ll need to make a couple tweaks to our Jekyll blog. Here’s the front matter for one of the authors.
short_name: jill
name: Jill Smith
position: Chief Editor
name has special meaning as a unique identifier in Decap CMS, but as set up now our Jekyll blog is using short_name as the unique identifier for authors. For each author, update the frontmatter like so.
name: jill
display_name: Jill Smith
position: Chief Editor
then update _layouts/author.html, _layouts/post.html and staff.html accordingly.
<!-- _layouts/author.html -->
--- layout: default ---

<h1>{{ page.display_name }}</h1>
<h2>{{ page.position }}</h2>

{{ content }}

<h2>Posts</h2>
<ul>
  {% assign filtered_posts = site.posts | where: 'author', page.name %} {% for post in
  filtered_posts %}
  <li>
    <a href="{{ site.baseurl }}{{ post.url }}">{{ post.title }}</a>
  </li>
  {% endfor %}
</ul>
<!-- _layouts/post.html -->
--- layout: default ---

<h1>{{ page.title }}</h1>

<p>
  {{ page.date | date_to_string }} {% assign author = site.authors | where: 'name', page.author |
  first %} {% if author %} - <a href="{{ author.url }}">{{ author.display_name }}</a>
  {% endif %}
</p>

{{ content }}
<!-- staff.html -->
--- layout: default ---

<h1>Staff</h1>

<ul>
  {% for author in site.authors %}
  <li>
    <h2>
      <a href="{{ site.baseurl }}{{ author.url }}">{{ author.display_name }}</a>
    </h2>
    <h3>{{ author.position }}</h3>
    <p>{{ author.content | markdownify }}</p>
  </li>
  {% endfor %}
</ul>
Next, copy and paste the following into the collections array in config.yml below the blog collection.
- name: 'authors'
  label: 'Authors'
  folder: '_authors/'
  create: true
  editor:
    preview: false
  fields:
    - { label: 'Layout', name: 'layout', widget: 'hidden', default: 'author' }
    - { label: 'Short Name', name: 'name', widget: 'string' }
    - { label: 'Display Name', name: 'display_name', widget: 'string' }
    - { label: 'Position', name: 'position', widget: 'string' }
    - { label: 'Body', name: 'body', widget: 'markdown' }
Now that we have the authors collection configured, we can add an author field to the blog collection. We’ll use the relation widget to define the relationship between blog posts and authors.
# updated fields in blog collection configuration
fields:
  - { label: 'Layout', name: 'layout', widget: 'hidden', default: 'post' }
  - { label: 'Title', name: 'title', widget: 'string' }
  - { label: 'Publish Date', name: 'date', widget: 'datetime' }
  - {
      label: 'Author',
      name: 'author',
      widget: 'relation',
      collection: 'authors',
      display_fields: [display_name],
      search_fields: [display_name],
      value_field: 'name',
    }
  - { label: 'Body', name: 'body', widget: 'markdown' }
With that configuration added, you should be able to select the author for a post from a dropdown.
About Page
Our Jekyll blog includes an About page. It would nice to be able to edit that page just like we can edit our blog and author pages. Decap CMS provides file collections to solve this problem.
Copy and paste the following into the collections array in config.yml
- name: 'pages'
  label: 'Pages'
  editor:
    preview: false
  files:
    - label: 'About Page'
      name: 'about'
      file: 'about.md'
      fields:
        - { label: 'Title', name: 'title', widget: 'hidden', default: 'about' }
        - { label: 'Layout', name: 'layout', widget: 'hidden', default: 'about' }
        - { label: 'Body', name: 'body', widget: 'markdown' }
Navigation
The last aspect of our Jekyll blog we might want to bring under the control of Decap CMS is our Navigation menu. Our Jekyll tutorial blog has a file _data/navigation.yml that defines the links rendered by _includes/navigation.html. It looks like this.
# _data/navigation.yml
- name: Home
  link: /
- name: About
  link: /about.html
- name: Blog
  link: /blog.html
- name: Staff
  link: /staff.html
To make this file editable with Decap CMS, we’ll need to make one minor tweak. The issue is this file contains a yaml array at the top level, but Decap CMS is designed to work with yaml objects. Update _data/navigation.yml so it looks like so.
# _data/navigation.yml
items:
  - name: Home
    link: /
  - name: About
    link: /about.html
  - name: Blog
    link: /blog.html
  - name: Staff
    link: /staff.html
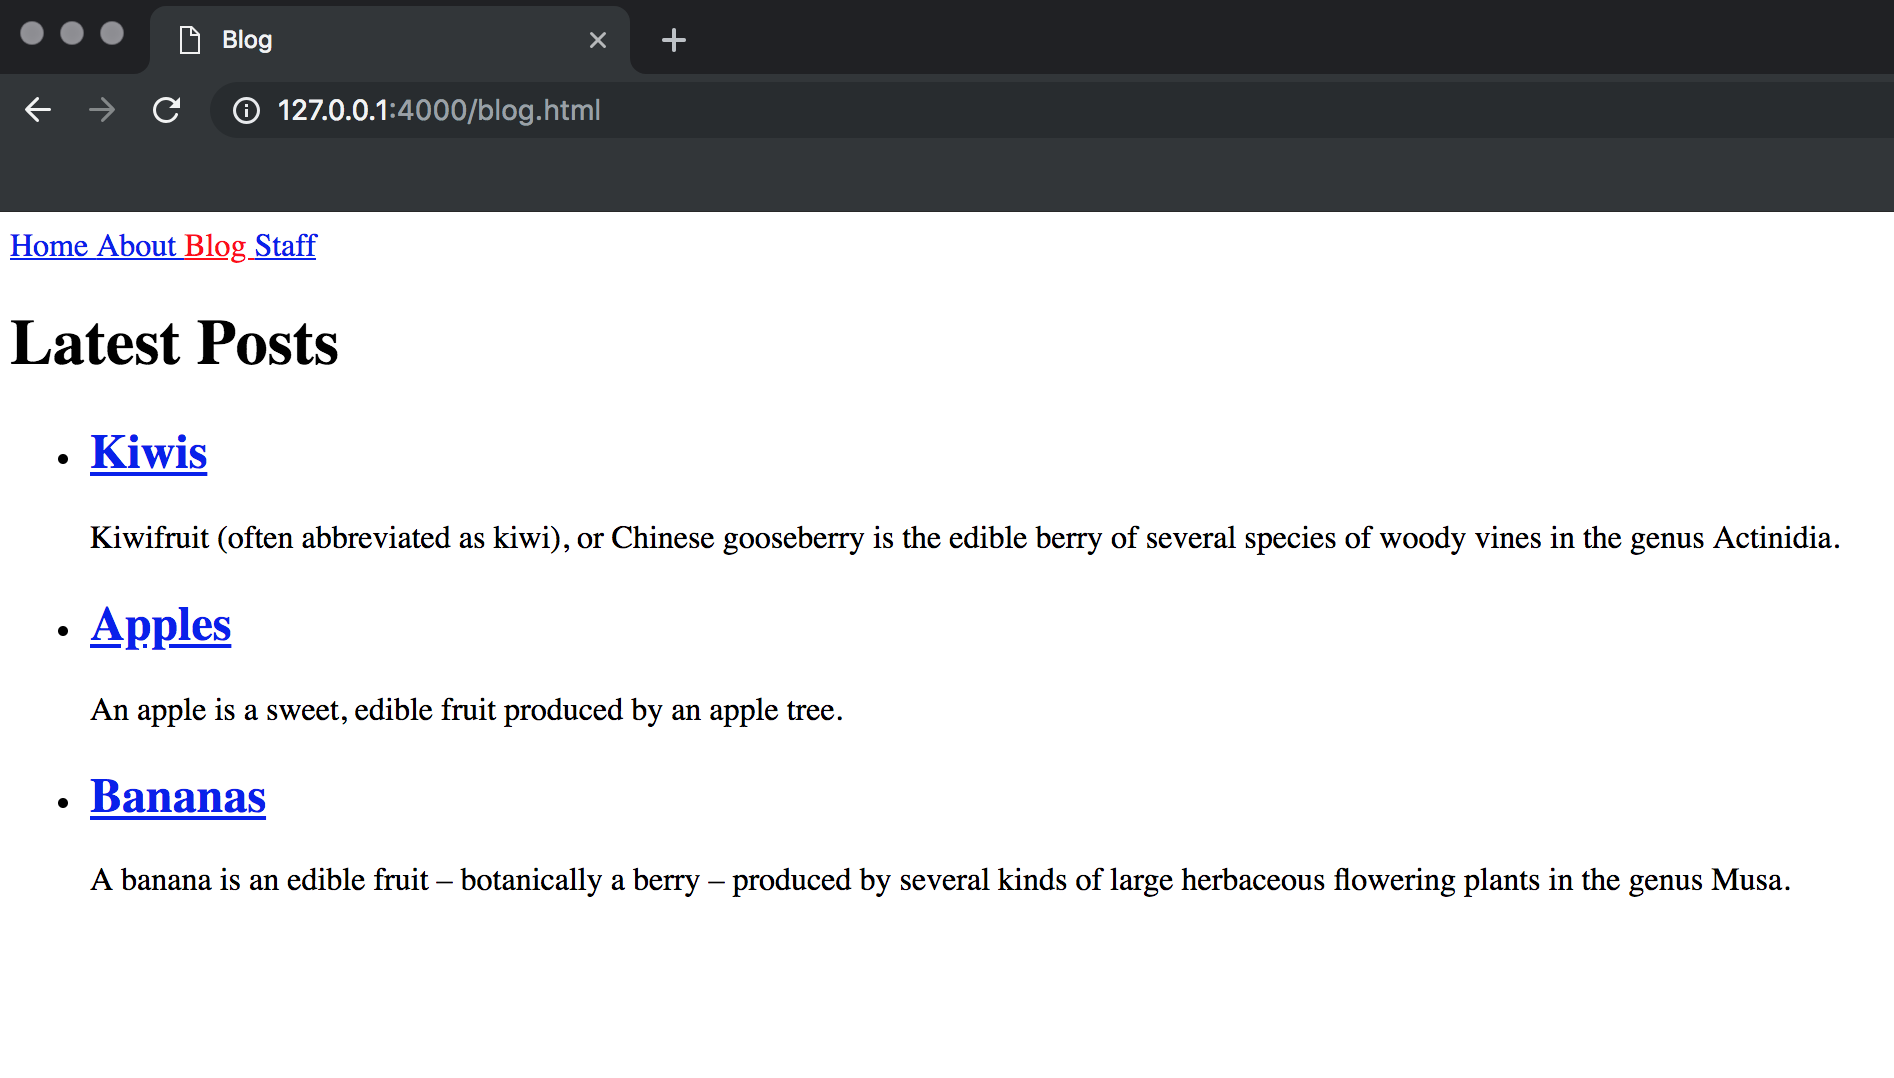
You’ll need to update _includes/navigation.html accordingly. {% for item in site.data.navigation %} should be changed to {% for item in site.data.navigation.items %}. When you’re done, the nav html should look like this.
<nav>
  {% for item in site.data.navigation.items %}
    <a href="{{ site.baseurl }}{{ item.link }}" {% if page.url == item.link %}style="color: red;"{% endif %}>
      {{ item.name }}
    </a>
  {% endfor %}
</nav>
Finally, add the following to the collections array in config.yml
- name: 'config'
  label: 'Config'
  editor:
    preview: false
  files:
    - label: 'Navigation'
      name: 'navigation'
      file: '_data/navigation.yml'
      fields:
        - label: 'Navigation Items'
          name: 'items'
          widget: 'list'
          fields:
            - { label: Name, name: name, widget: string }
            - { label: Link, name: link, widget: string }
Now you can add, rename, and rearrange the navigation items on your blog.