# Start with a Template
Source: https://decapcms.org/docs/start-with-a-template/ (updated 2025-10-08)
You can add Decap CMS [to an existing site](https://decapcms.org/docs/add-to-your-site/), but the quickest way to get started is with a template. Found below, our featured templates deploy a bare-bones site and Decap CMS to Netlify, giving you a fully working CMS-enabled site with just a few clicks.
- **Hugo Site Starter**: [github.com/decaporg/one-click-hugo-cms](https://github.com/decaporg/one-click-hugo-cms), [deploy to Netlify](https://app.netlify.com/start/deploy?repository=https://github.com/decaporg/one-click-hugo-cms&stack=cms)
- **Gatsby Site Starter**: [github.com/decaporg/gatsby-starter-decap-cms](https://github.com/decaporg/gatsby-starter-decap-cms), [deploy to Netlify](https://app.netlify.com/start/deploy?repository=https://github.com/decaporg/gatsby-starter-decap-cms&stack=cms)
- **Nuxt 3 Starter**: [github.com/Sfolkerts89/Nuxt3-starter__Decap-cms](https://github.com/Sfolkerts89/Nuxt3-starter__Decap-cms), [deploy to Netlify](https://app.netlify.com/start/deploy?repository=https://github.com/Sfolkerts89/Nuxt3-starter__Decap-cms&stack=cms)
- **Next.js Blog Template**: [github.com/wutali/nextjs-netlify-blog-template](https://github.com/wutali/nextjs-netlify-blog-template), [deploy to Netlify](https://app.netlify.com/start/deploy?repository=https://github.com/wutali/nextjs-netlify-blog-template&stack=cms)
- **Eleventy Starter**: [github.com/surjithctly/neat-starter](https://github.com/surjithctly/neat-starter), [deploy to Netlify](https://app.netlify.com/start/deploy?repository=https://github.com/surjithctly/neat-starter&stack=cms)
- **VuePress Template**: [github.com/NdagiStanley/VueDN](https://github.com/NdagiStanley/VueDN), [deploy to Netlify](https://app.netlify.com/start/deploy?repository=https://github.com/NdagiStanley/VueDN&stack=cms)
- **Middleman Site Starter**: [github.com/tomrutgers/middleman-starter-netlify-cms](https://github.com/tomrutgers/middleman-starter-netlify-cms), [deploy to Netlify](https://app.netlify.com/start/deploy?repository=https://github.com/tomrutgers/middleman-starter-netlify-cms&stack=cms)
- **Preact CLI**: [github.com/preactjs/preact-netlify](https://github.com/preactjs/preact-netlify), [deploy to Netlify](https://app.netlify.com/start/deploy?repository=https://github.com/preactjs/preact-netlify&stack=cms)
- **Metalsmith Starter**: [github.com/wernerglinka/metalsmith-netlify-starter](https://github.com/wernerglinka/metalsmith-netlify-starter), [deploy to Netlify](https://app.netlify.com/start/deploy?repository=https://github.com/wernerglinka/metalsmith-netlify-starter&stack=cms)
After clicking one of those buttons, authenticate with GitHub or GitLab and choose a repository name. Netlify then automatically creates a clone of the repository in your GitHub or GitLab account. Next, it builds and deploys the new site on Netlify, bringing you to the site dashboard after completing the build.
**Note for Bitbucket users:** Decap CMS supports Bitbucket repositories, but Bitbucket's permissions won't work with the Deploy to Netlify buttons above. You can still set up a repository manually, or follow the [tutorial](https://decapcms.org/docs/add-to-your-site) for adding Decap CMS to an existing site.
## Access Decap CMS on your new site
1. The template deploy process sends you an invitation to your new site, sent from `no-reply@netlify.com`.

2. Wait for the deployment to complete, then click the link to accept the invite. Your site will open with a prompt to create a password.
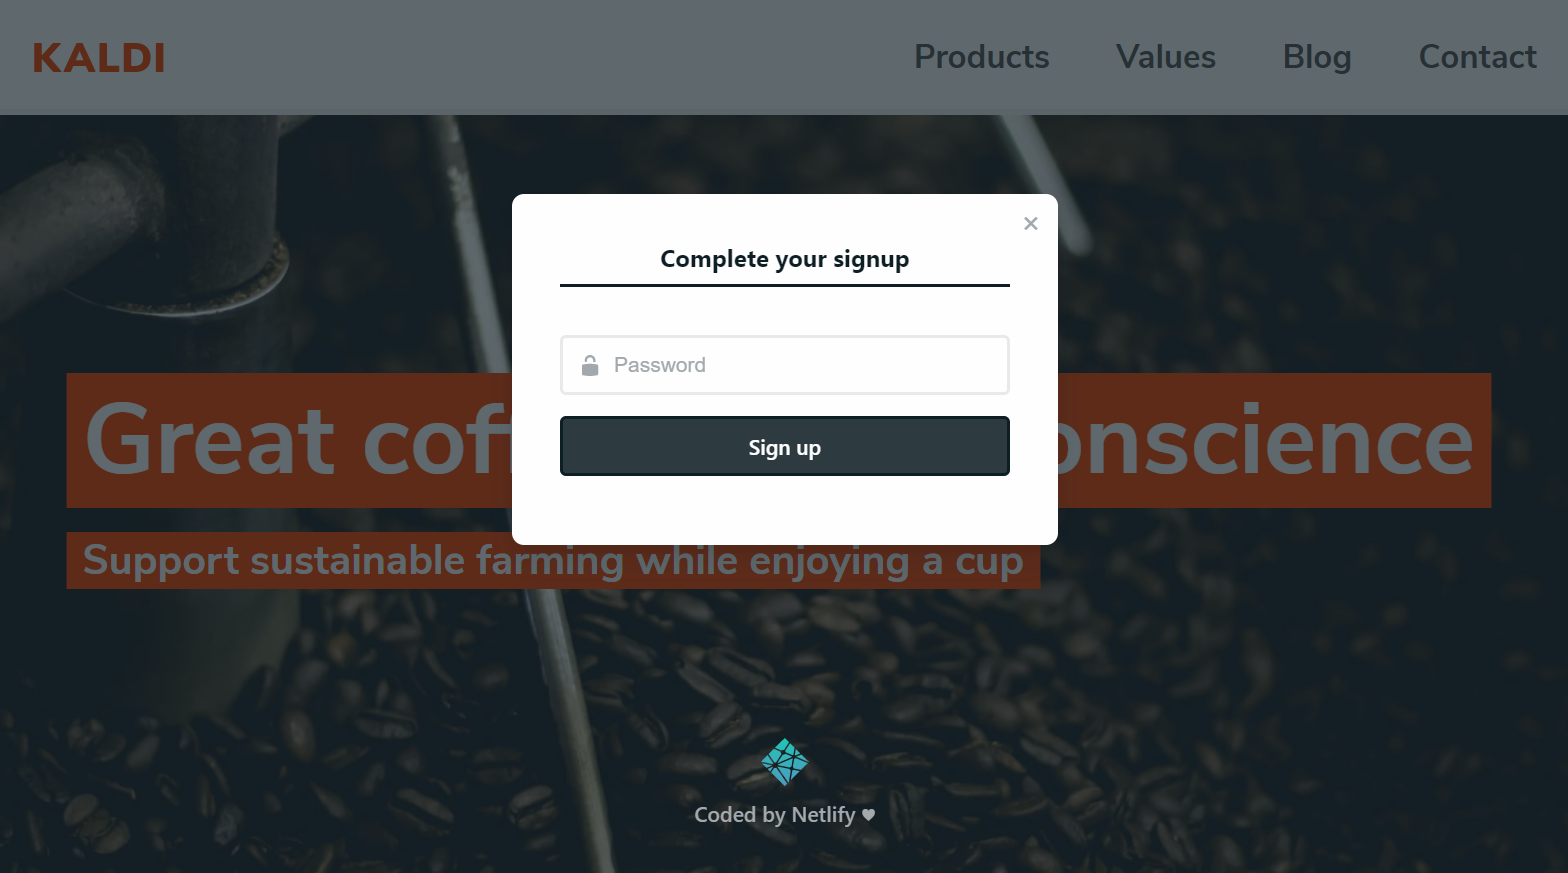
3. Enter a password, sign in, and you’ll go to the CMS. (For future visits, you can go straight to `/admin/`.)
Try adding and editing posts, or changing the content of the Products page. When you save, the changes are pushed immediately to your Git repository, triggering a build on Netlify, and updating the content on your site. Check out the configuration code by visiting your site repo.
## More paths to explore
* To see how to integrate Decap CMS into an existing project, go to [Add to your site](https://decapcms.org/docs/add-to-your-site/).
* Check out other sites using Decap CMS (or share your own!) on the [Examples](https://decapcms.org/docs/examples/) page.
* If you’d like to add more CMS editors or change how they log in to your site, read up on [Netlify Identity service](https://www.netlify.com/docs/identity).